
Core, rock and defects
Log rock core in Borehole Logging: core runs with TCR, SCR and RQD, strength and weathering bands, defects, fracture spacing and downhole surveys.
Applies toWindows and macOSWeb browser
When a borehole is cored, you record the core runs, the strength and the weathering of the rock, and the defects. These tables are in the Geology group. The log sheet prints them on the cored log.
Before you start
- Describe the rock layers in the Lithology table, under the soil. See Describe the soil and rock.
- Record the coring method, for example NMLC, in Boring methods. See Drilling method and progress.
Record the core runs
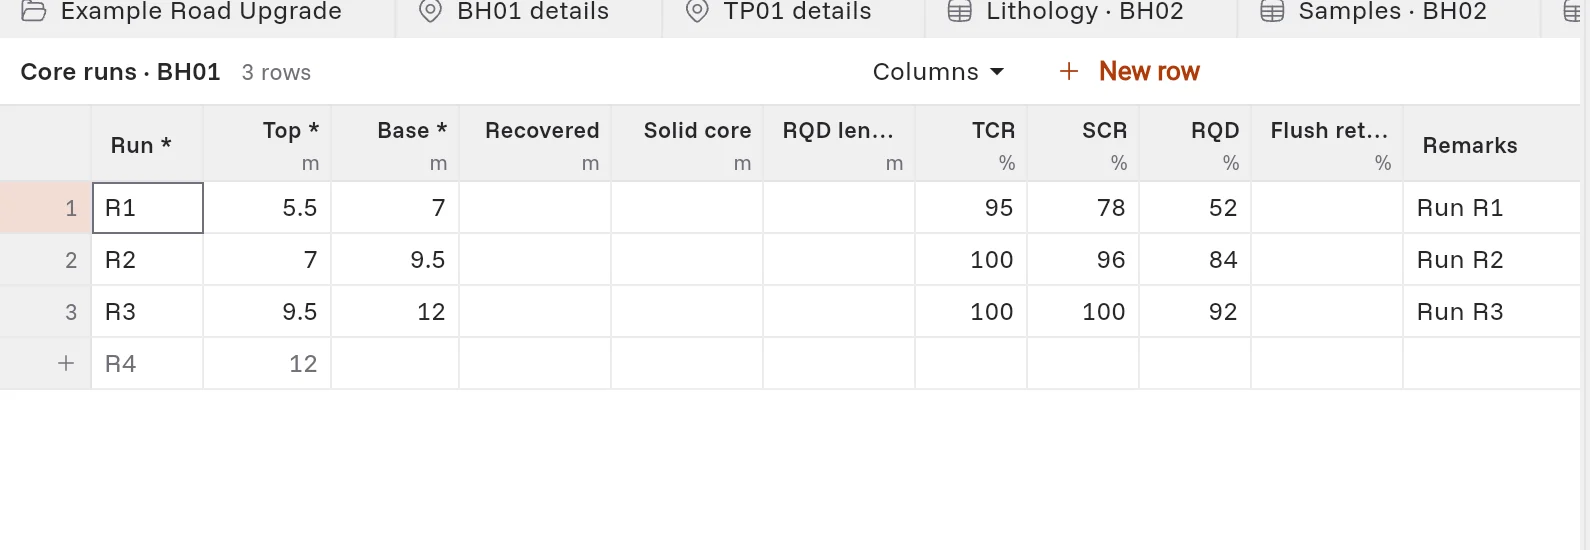
- Open the hole's Core runs table.
- In Run, type the run number, for example R1.
- Type the Top and the Base of the run.
- Type the Recovered, Solid core and RQD length in metres. The app works out TCR, SCR and RQD in percent.
- If you have only the percentages, type the TCR, SCR and RQD directly. Files imported from AGS 4 give percentages.
Note: A run needs no description of its own when a rock layer in the Lithology table covers it. If nothing covers it, the Checks pane asks you to describe it.
Strength and weathering
Record the rock strength and weathering as bands, as you record moisture and consistency.
- Strength: type the Top, the Base, and the range in From and To: VL, L, M, H, VH or EH.
- Weathering: type the Top, the Base and the code: RS residual soil, XW extremely weathered, HW highly weathered, MW moderately weathered, SW slightly weathered, FR fresh. DW (distinctly weathered) is also available.
Record the defects
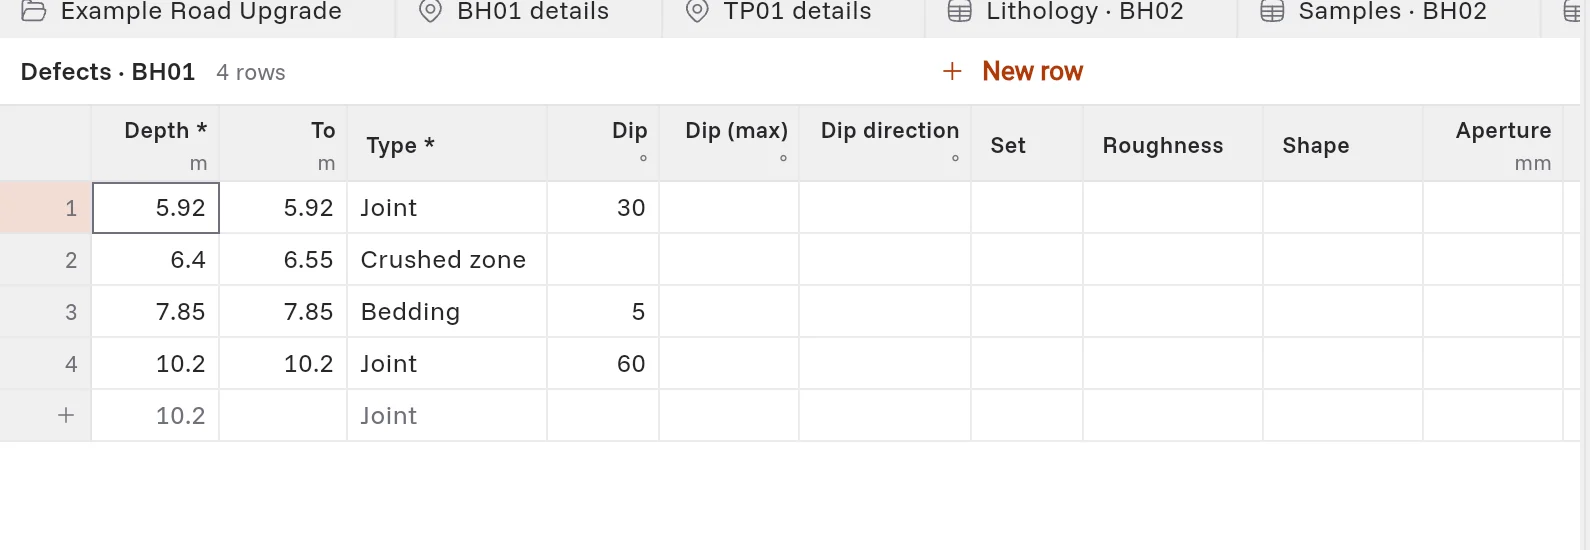
- Open the hole's Defects table.
- Type the Depth of the defect. For a zone, also type the depth in To.
- In Type, select the type, for example Joint, Bedding, Crushed zone or Core loss.
- Type the Dip in degrees. Optional: the Dip direction and the Set.
- Type the codes for the surface:
| Column | Codes |
|---|---|
| Roughness | POL polished, SL slickensided, SM smooth, RO rough, VR very rough |
| Shape | PR planar, CU curved, UN undulating, ST stepped, IR irregular |
| Infill | Clay, Silt, Sand, Ca, Fe, Qz, Cb |
| Coating | CN clean, SN stain, Fe SN, VNR veneer, CO coating |
- Optional: type the Aperture and Thickness in millimetres, and the Persistence.
Record handling breaks and drilling breaks as defects too, with their own types. The fracture spacing leaves them out.
Work out the fracture spacing
The app can work out the defect spacing from the Defects table.
- Open the hole.
- Click Hole › Fracture spacing, or press Ctrl+Alt+F.
- In Band by, select Core runs, Each 1 m or Each 0.5 m.
- In Leave out (not natural fractures), make sure that the handling and drilling breaks are selected.
- Click Write n bands.
The app writes the Defect spacing table: the closest, widest and average spacing, and the fracture frequency per metre of core recovered. Core loss is taken off the length. When you do this again, the app replaces the bands it wrote before. It keeps bands that you typed.
Record a downhole survey
For an inclined hole, record its angle and direction.
- Click Hole › Downhole survey.
- Type the Plunge (degrees below horizontal, 90 is vertical) and the Azimuth (degrees from grid north).
- Optional: in Survey stations, type one line for each station: the depth along the hole, the plunge and the azimuth, for example 30, -58, 95.
Depths stay along the hole. Sections, the fence diagram and the holes table place the hole from the survey.