
Create a project
Create a borehole logging project in Borehole Logging. Add the project name, job number, client, site address, coordinate system and vertical datum.
Applies toWindows and macOSWeb browser
A project holds the holes for one job. Create the project before you add boreholes or test pits.
Create the project
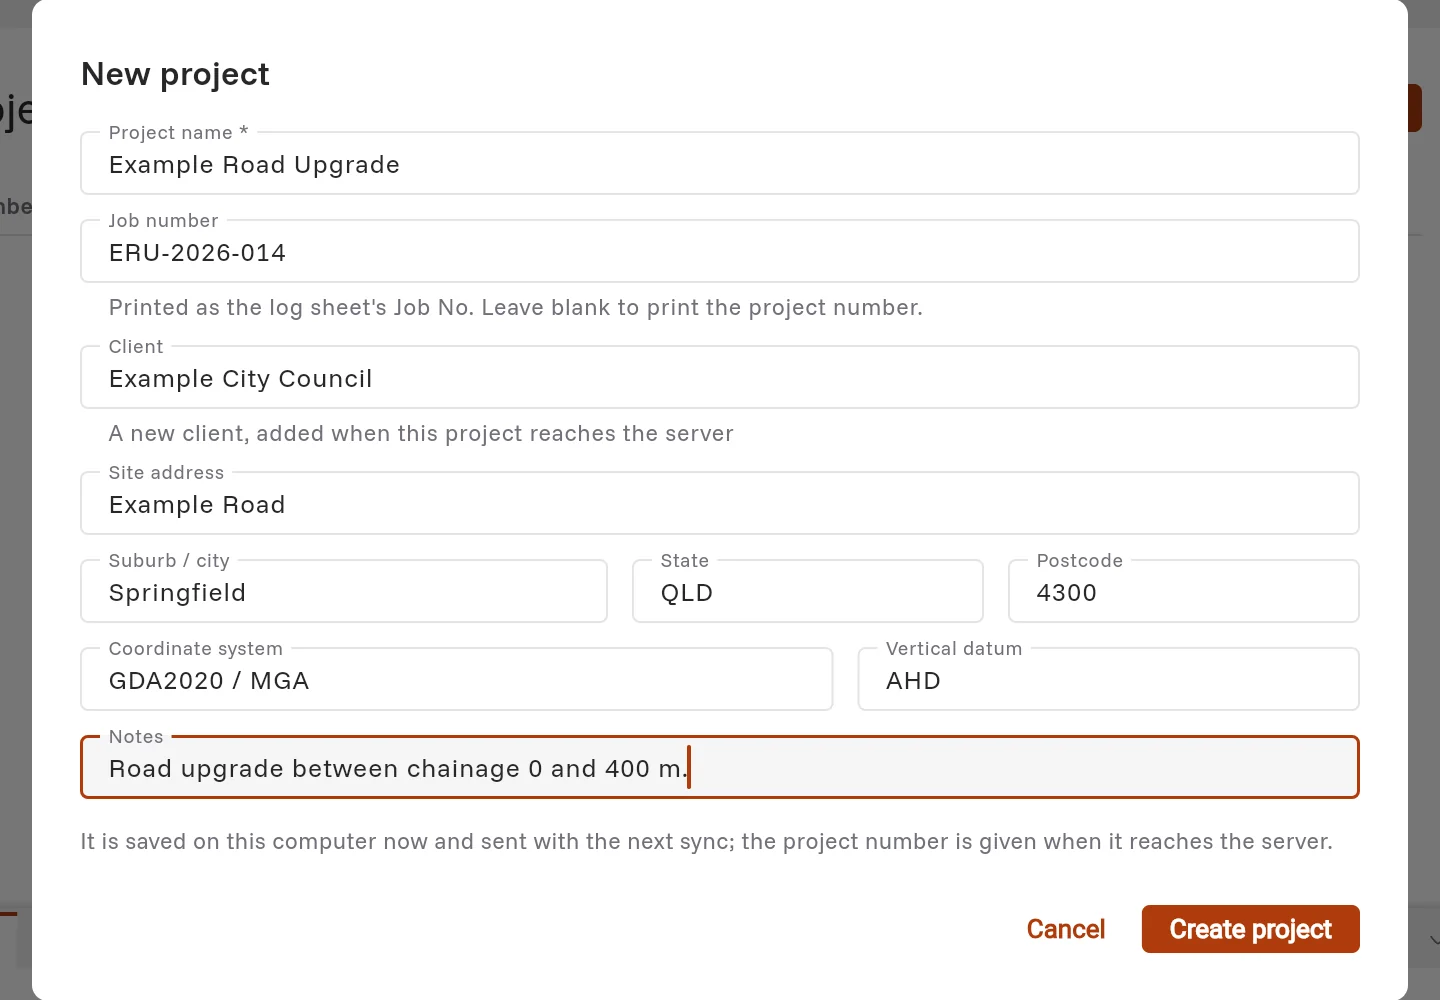
- Click Project › New project, or press Ctrl+Shift+N (⌘+Shift+N on a Mac).
- In Project name, type the name, for example Example Road Upgrade. This field is necessary.
- In Job number, type your company's job number. The log sheet prints it as the Job No. If you leave it empty, the log sheet prints the project number.
- In Client, type the client's name. If the client is already in your workspace, Borehole Logging uses that client.
- Type the Site address, Suburb / city, State and Postcode.
- Make sure that the Coordinate system and the Vertical datum are correct. The default values are GDA2020 / MGA and AHD.
- Optional: in Notes, type information about the project.
- Click Create project.
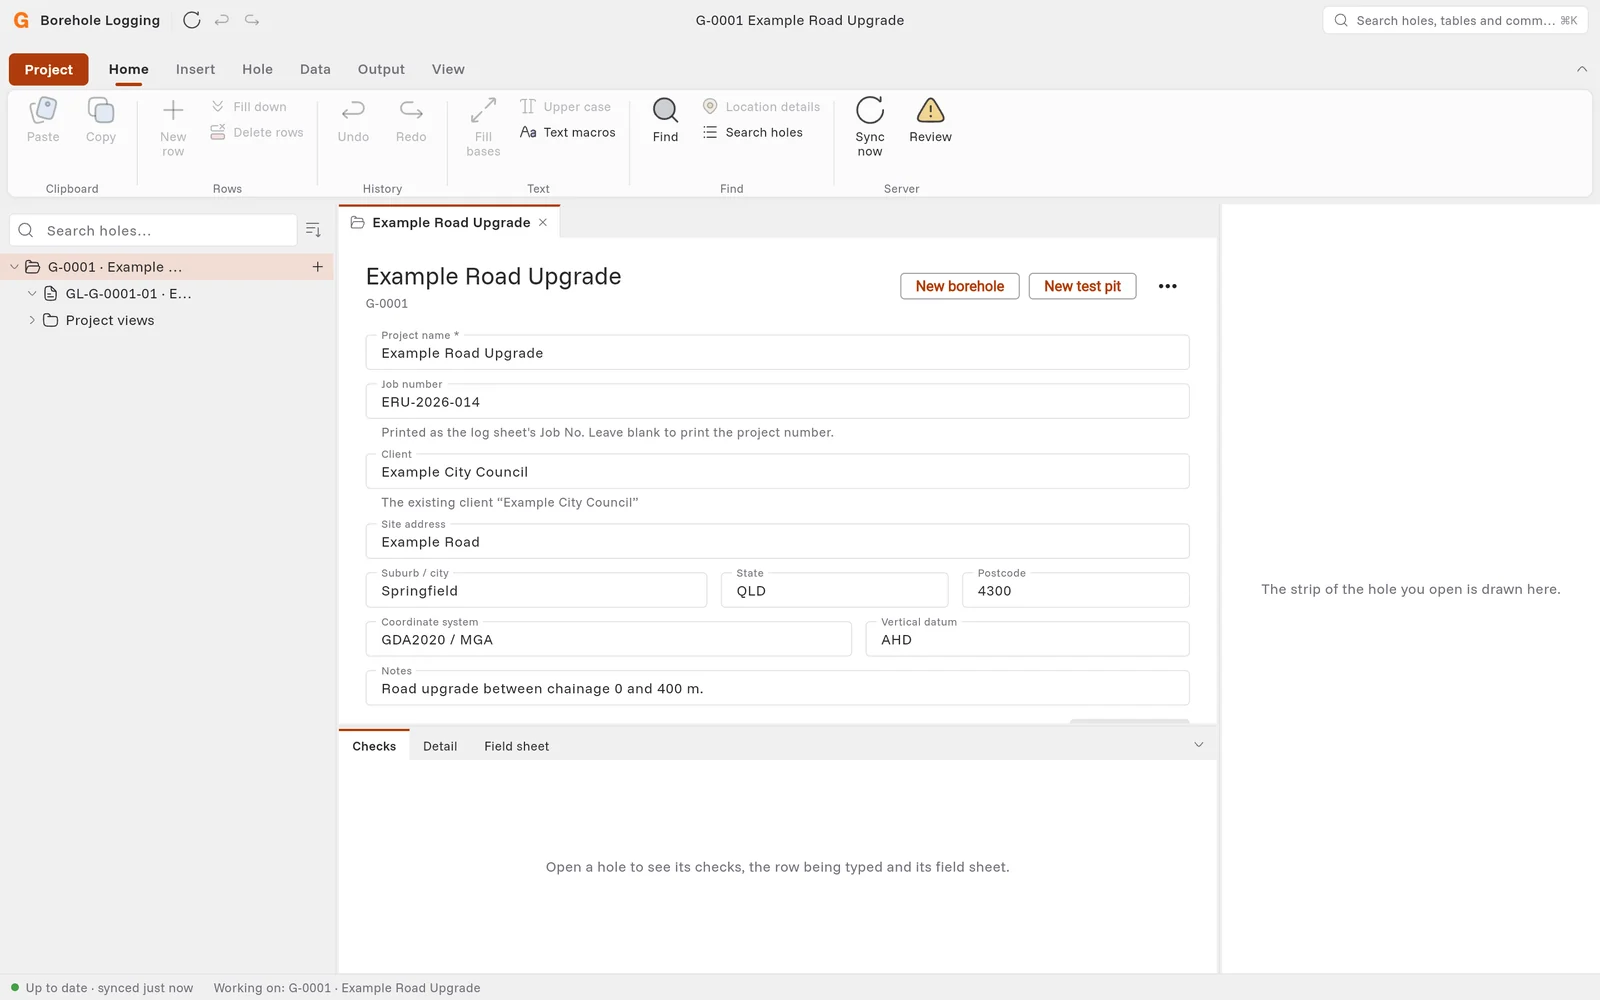
Borehole Logging opens the project. The project shows in the project tree, with its first investigation.
Note: Borehole Logging saves the project on your device first. The server gives the project its number, for example G-0001, at the next sync.
If the project is already on your device
When you type a name or an address, Borehole Logging looks for projects that are like it. If it finds one, it shows Already on this computer — is it one of these? To open that project and not make a second one, click Open this one instead.
Change the project details
- In the project tree, click the project.
- Click Project › Project details.
- Change the fields.
- Click Save changes.
Add an investigation
A new project has one investigation. Add another investigation for a later stage of work, for example a second round of boreholes.
- In the project tree, click the project.
- Click Insert › New investigation.
- In Title, type a title for the investigation, for example Stage 2.
- Click Create investigation.
Archive a project
When a project is finished, archive it to take it off the project tree. The office keeps the project.
- In the project tree, click the project.
- Click Project, then Info.
- Click Archive.